Struggling with low light is a photographer’s worse nightmare.
Yes, I know someone in the crowd will tell you to just use a flash, but that isn’t the case here; while the flash or Speedlight will provide us with artificial light, it will also cause some other issues in return.
Photographing in low-light situations can be difficult and challenging, but that, at least for me, is part of the fun and what I enjoy about photography.
In today’s article, we’ll go over some techniques on how to improve our low-light photography.
Before we start let’s figure out the meaning of low-light for those who are not familiar with it.
What Is Low-Light in Photography?
As the name implies, it means that there’s not enough light.
We all are aware that the camera sensor works with light, which implies that if the sensor doesn’t get enough light to absorb, the image quality suffers.
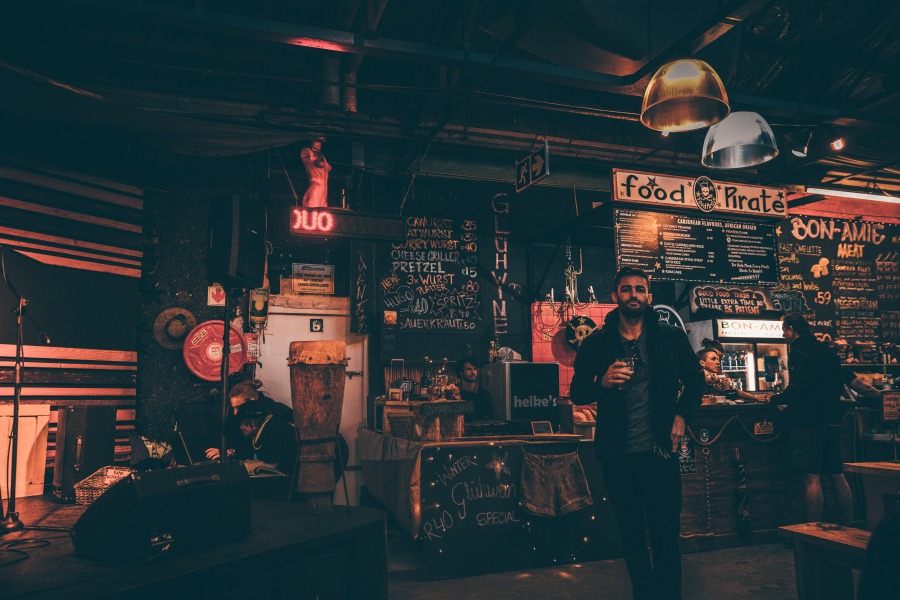
Low light photography refers to any scenario in which there is a shortage of available light.
For example, indoor photography with little ambient light as well as night photography with light that is hardly visible to our eyes.
Know Your Camera Settings and Set Them Up for The Best Low-Light Outcome
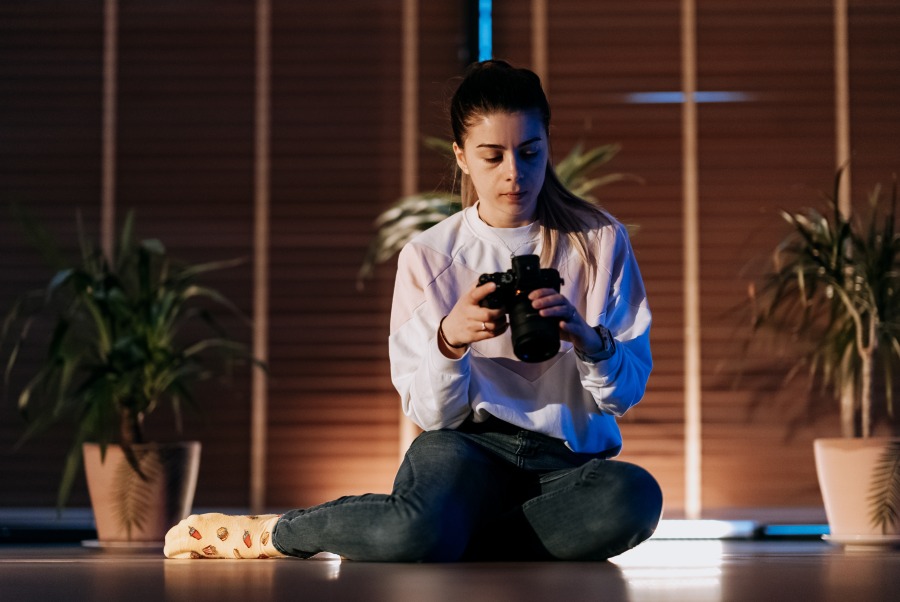
The settings I’m about to share are the result of a few hours of research and general knowledge. These are the settings that most photographers prefer to use in low-light situations:
ISO
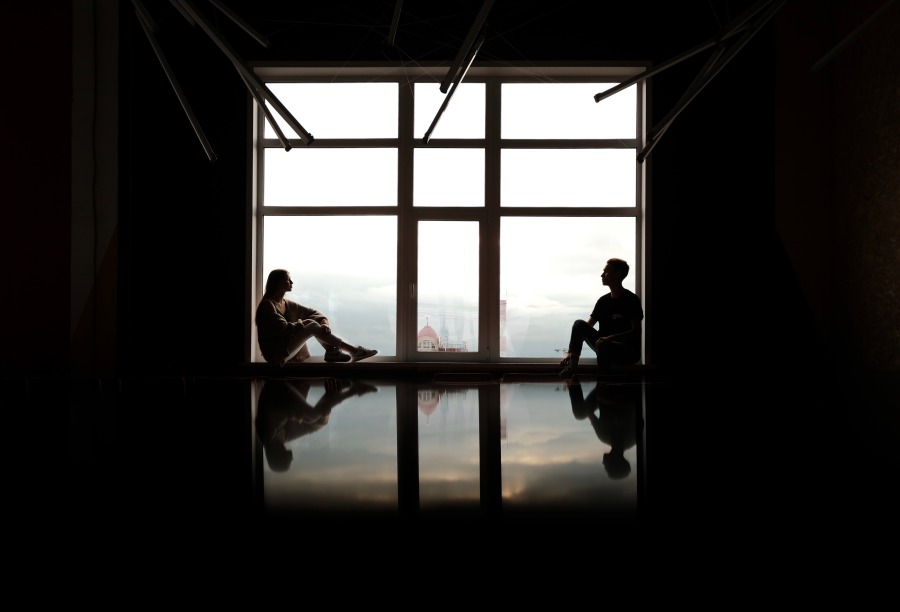
ISO is basically what defines how light-sensitive your camera sensor is.
To simplify things, increasing the ISO to 600 or 800 indicates allowing more light to pass through the camera sensor, but setting it to 100 or 200 suggests the reverse.
It’s understandable if you tell me to just keep ISO at the highest level. However, high ISO comes with a drawback, which is noise (grain) and less sharp images.
In my opinion, the best ISO level would be around 1200 – 1800.
Shutter Speed
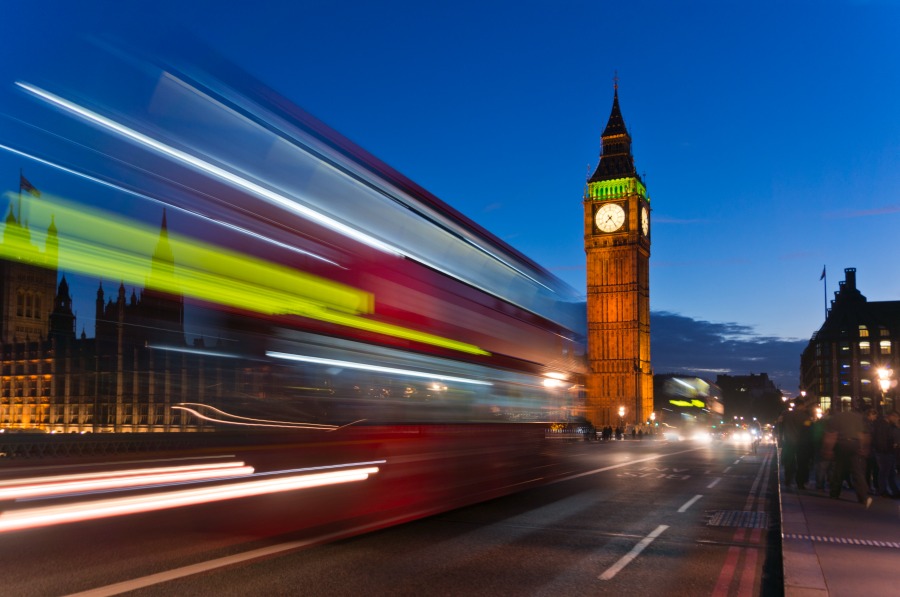
Shutter speed refers to how quickly the camera’s shutter closes.
A quick shutter speed, for example, results in a shorter exposure due to the amount of light the camera absorbs, whereas a slow shutter speed results in a longer exposure.
However, keeping your camera as still as possible is critical if you want to take a sharp, clear photo in low light with no flash.
Make sure you hold your camera properly to avoid vibrations, and if you can afford it, get yourself a tripod; if you find them expensive, I’ve included some excellent tripods under $50 that will be handy for your low-light photography.
In my opinion, the best Shutter Speed would be around 1″ – 1/60
Aperture
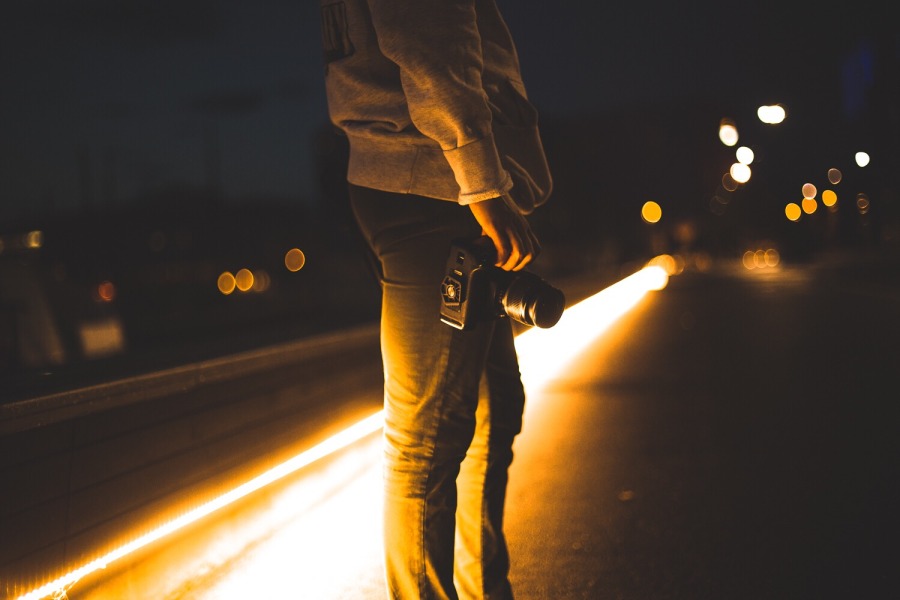
Aperture is really important when it comes to photography.
We discussed how ISO affects light sensitivity earlier. Aperture is also another contributor. However the latter determines how much light is allowed in.
In short words, the aperture controls the amount of light that enters the camera; to allow more or less light to reach your camera sensor, reduce or raise the aperture size.
The beneficial point of the aperture is that if it’s a wide aperture (low f-stop value), it can help you take good low-light photos without using a flash.
In my opinion, the best Aperture f/stop would be F/2.8 or wider
Focus
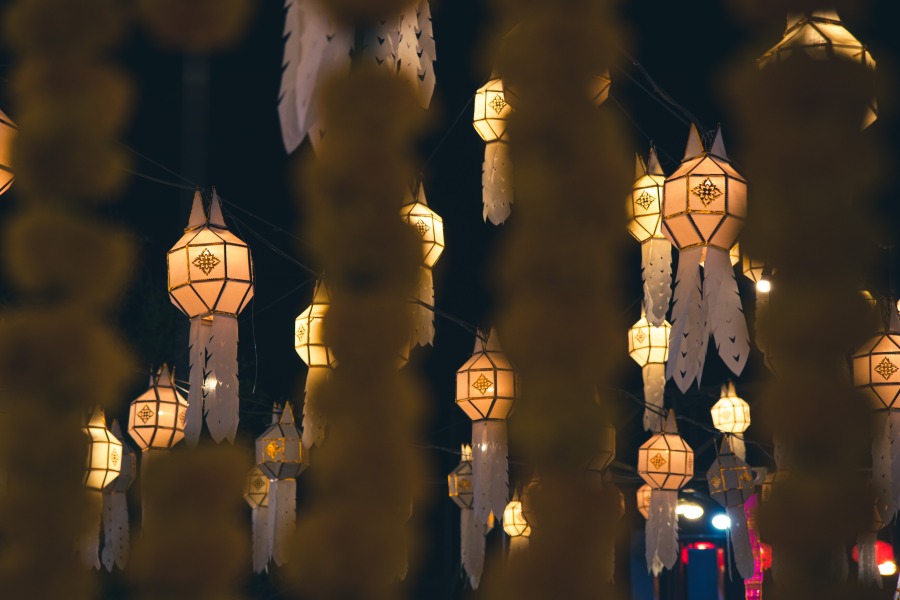
Focus is something we all are familiar with; the focus is the sharpest area of the image.
When it comes to focusing there is AutoFocus and manual focus, which both are quite self-explanatory, we don’t need to go into details.
While AutoFocus is preferred on most occasions, you don’t want to bother with it when it comes to low light in environments.
That is due to the focus not being able to track subjects in the dark.
In my opinion, Manual Focus (MF) would be the best choice.
Other Things To Consider
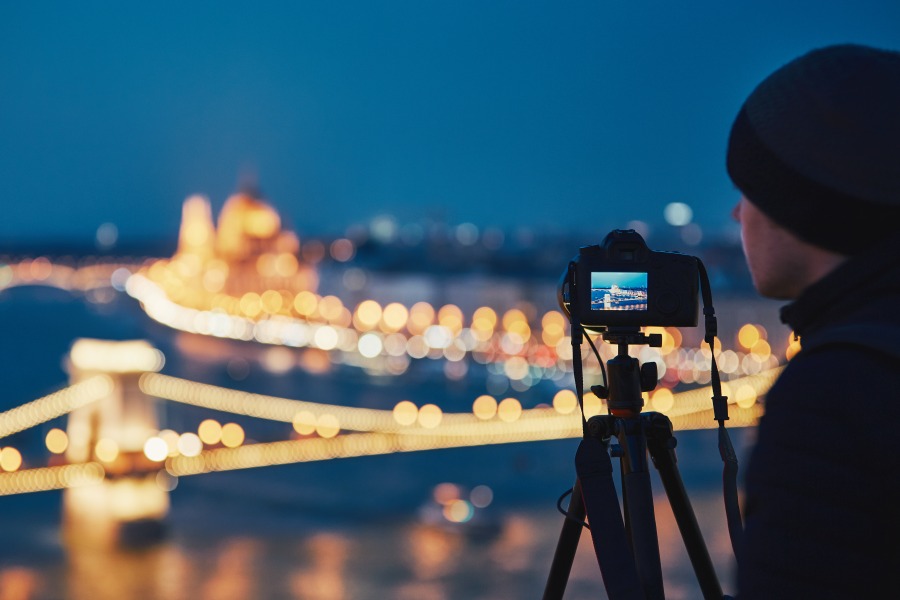
Since we’ve covered the settings, there are a few other factors to consider when it comes to achieving the best results in low-light photography.
- Flash: When we are in the dark, the first thing that comes to our mind is to turn on the flash. Well, this is just the case with low-light photography. You might want to bring an extra flash with you, just be mindful of how you use it.
- Tripod: As I mentioned earlier, a tripod is a really vital piece of photography equipment that will prove useful in most cases, not just for low-light photography.
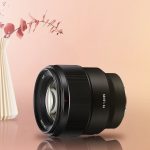
- Lens: You might want to bring a fast lens that has a good amount of aperture and is also feature-packed to the point of having a built-in image stabilization to avoid those shakes. A good lens for night photography is a must.
- Raw: Make sure you shoot the photos in raw, so you can edit them later, and that way you can interfere with the low-light via the editing software.
Low-Light FAQ
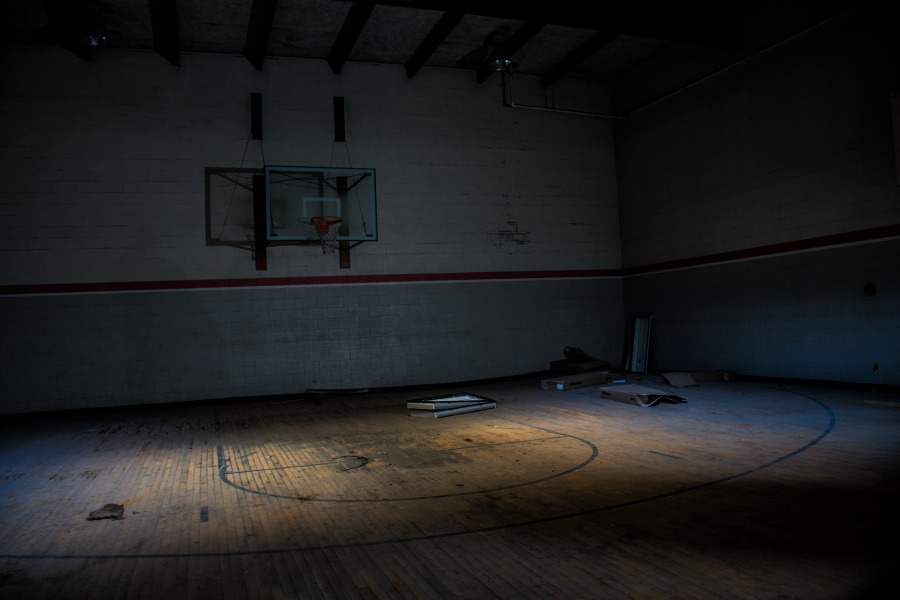
What are low light conditions?
That basically means that there’s no neutral light that our camera can absorb, in other words, no sunlight.
Is white balance affected by low light?
It certainly does. Would be wise to take control of your camera’s automatic white balance changes. For more on white balance, don’t forget to check out my blog.
Is 1800 ISO an excessively high ISO setting?
Not really, if you’re interested in astrophotography or simply wish to picture the night sky, a high ISO is essential.
Is autofocus better than manual?
It mostly depends on the situation, most photographers prefer autofocus, but if the case is low-light photography, as I mentioned above Manual Focus is the way to go.
How come some pictures look so sharp despite being taken in low-light conditions?
When it comes to low-light situations, it’s usually the lens that battles it. A fast lens with a large aperture is ideal for low-light situations.
Final Words
I don’t doubt that taking photos in low-light conditions is a real struggle, but when you look at the bright side, it is really rewarding.
The key to low-light photography is to master your camera and understand that every action or setting has a reaction.
Aside from that, I don’t think I need to say anything besides, practice, eventually, you will get there.
Until next time, take care.
Wedding Photographer
From nature to urban landscapes, my camera is my tool for expressing my creativity and telling stories through my lens.
