ISO is one of the most important things in photography! Why and what does it mean?
ISO is a shortened way to say International Standards Organization which sounds like it doesn’t have a minor relation with a camera, right? Well, it does. It tells or shows that it is an international standard; meaning it is found in different brands and in different types of cameras.
In simpler words or in the world of photography, the ISO is a camera setting that deals with the brightness and the darkness of the picture, that you are about to take. It tells us the responsiveness of the camera sensor to the light. More simplified, it is the camera’s sensitivity to the light.
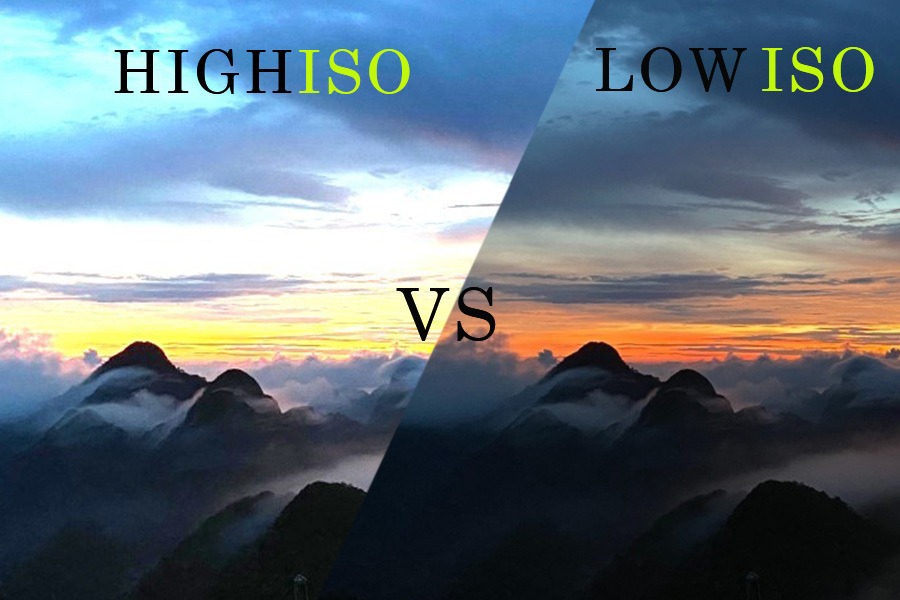
But which one is better? High ISO or Low ISO? What are the main differences between them?
In this article, you will find information regarding ISO as a general setting of a camera, and also, you will find somehow a competition between High ISO and Low ISO!
Which one should be used, when, and where? Let’s see!
Most Commonly Found ISO in Cameras
- ISO 100
- ISO 200
- ISO 400
- ISO 800
- ISO 1600
- ISO 3200
- ISO 4000
High ISO VS Low ISO/Usage
If it is understood what ISO in general means, let me move on to some other important things that deserve to be mentioned.
ISO shows the sensitivity of the camera regarding the light conditions that you find yourself in. A lower ISO means that the camera is less sensitive to the light in general, while a higher ISO means that your camera is more sensitive to the light.
In some ways, it may be confusing when using the ISO setting on a camera. Even though most professionals know when and where the High ISO and the Low ISO should be used, I would like to mention when you should use each one of them.
When Should You Use High ISO?
Higher the ISO the more sensitive the camera right? Well, depending on that, a high ISO should be used when you are shooting indoors or for example, let’s say you are shooting at night and of course, there’s not too much brightness.
I mentioned that there are different high ISO settings in cameras and the highest is 4000. That means that you can use your camera easily and the picture will be brought just as it should be.
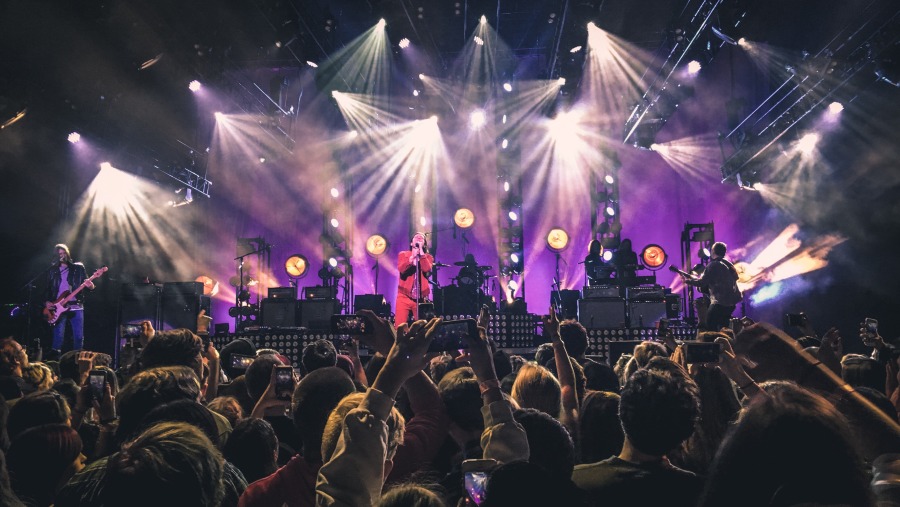
When you use the high ISO you should expect less dynamic range, not too great color accuracy and with it, the picture is a bit noisier (grainier). However, a specialty that the high ISO brings is when we deal with a moving subject!
Just take a look at the picture below, it is shot with high ISO, just as it is needed!
When Should You Use Low ISO?
If you find yourself in the brightest environment ever, that’s where the Low ISO comes in handy! If you are into outdoor photography and the day is sunnier than ever, you should use a low ISO.
As mentioned above, the lowest ISO that you can find in a camera stands between 400, 200, and 100.
When you take a picture at a lower ISO, the picture is perfectly clear, the colors are perfectly captured. But, since the high ISO was better with moving subjects don’t expect the same in here. When you use a low ISO on a moving subject, the subject may be captured a bit blurry.
In the picture below, we have a very sunny day with an enormous light, and the picture is taken in low ISO!

Is the ISO Related To The Shutter Speed?
At the beginning of this article, I mentioned that the ISO is one of the most important things in a camera. As you may know, there are three important things, ISO is one of them, and the other two are the shutter speed and the aperture. And yes! The ISO setting has a very deep relation with the Shutter Speed on a camera but which one is better? Low or High?
The shutter speed, just as its name tells, is the speed at which the picture is taken. The shutter basically opens and closes and it takes the picture. When using a low ISO, the shutter speed works slower and when using a high ISO it works in the fastest way possible!
How to Set ISO in a Camera?
Different cameras come with different ways of changing the ISO setting. However, there are some most common ways in order to adjust one.
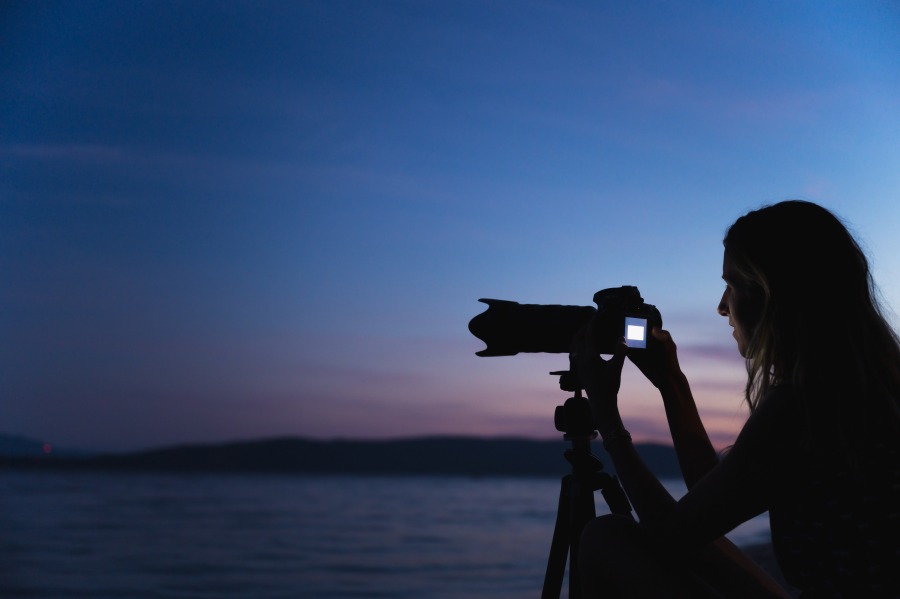
To start adjusting the ISO the first thing to do in most cameras is use the manual mode that the camera offers. Once the camera can perform manually, it allows you to adjust or set whatever you want.
Being a setting of the camera, ISO can be found on the settings, that the camera owns. Go to the menu, tap Settings, tap ISO, adjust it, and use it!
In some cameras (the newest ones), many brands added a button that is related to the ISO only. You should press it, and it is ready to be set.
Some other cameras have a wheel dedicated to the ISO, and when you will rotate it, it will start showing you the ISO ranges that the camera includes. Once you found the one that you want to use, just stop it and it is more than ready!
Final Words/Overall Opinion
Here we came at the end of this article! Did we define which one is better? Not really!
There’s no better or the best ISO setting! ISO fully depends on what you use the camera for. I think it is clearly explained when to use the high ISO and when the low ISO.
If you use them how they should be used, then expect nothing but a perfectly captured photograph! But, if you don’t then you can expect a “perfectly messed up” picture.
I really hope that this article will help you choose which ISO should be used and how do they perform. Also, I hope that this article is informational to you!
Have fun while adjusting the ISO in your cameras!

Photographer & Writer
I specialize in landscape, street and portrait photography and I have been featured in various galleries and publications. I believe that photography is a way to tell stories!
