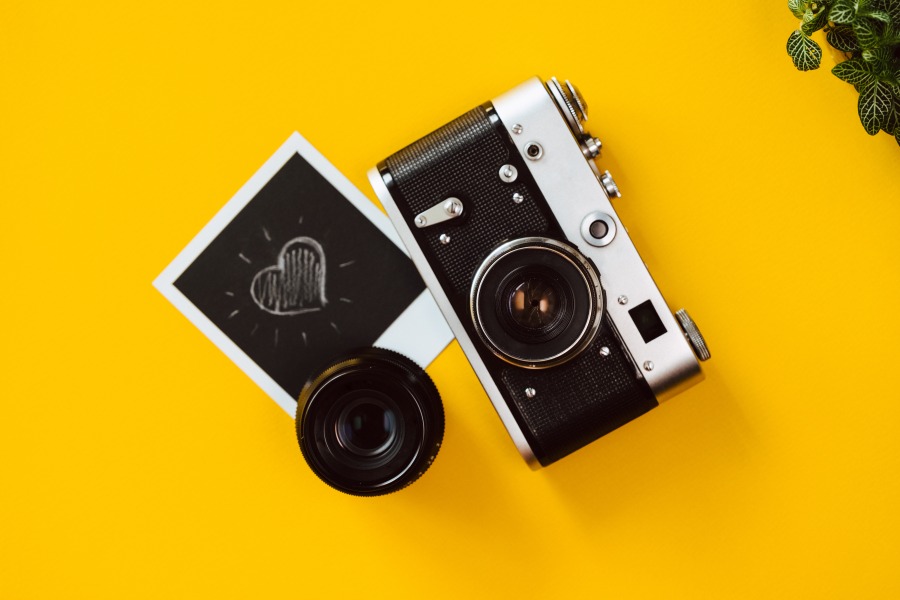
The new generation of people doesn’t quite know a good feeling, that of the cameras with films brought to people many years before now, they are just used to the new digital cameras.
Well, if you need to take some cool vintage pictures but don’t know how to put film in a camera, seems like you are at the right spot!
In this article, you will be able to see some of the easiest steps on how to put film in a camera!
Don’t miss out on film cameras and Let’s get started!
The 5 Simple Steps To Put Film In A Camera
1. Open the Back of your Camera
The first step is to open the back of your camera, but how to do so? Well, it is one of the easiest things to do! The back of your camera can be opened once you pull up the rewind knob that is placed on the upper part of the camera and it easily releases the latch.
You know that cameras are not all the same but still, many of them use the same functions, as mentioned above, in order to open the place where the film should be put on.
2. Put the Film in
Once you have opened your camera, you will notice two gaps on each side of the opening.
The left side is where the film leader or the roller, should be put in. In order to put it in you should pull up a little bit of the rewind knob that I mentioned above. Pull it up, put the film leader in, and push the rewind partway down so that the roller of the film can be held on the film chamber.
3. Secure the Tip of the Film
Moving on to the right side you will find a spool and a notch. Pull the tip of the roller of the film (try to be as careful as possible so that there are no fingerprints), and gently put that tip on the film chamber that is mentioned above. Take up as much film as you need so that it can be better captured by the notch pieces; which in this case look like clips. Also make sure to pull the film leader all across the film guide and just put it into the take up spool.
4. Loading Film: Coordinate the Film and Wind the Film
Don’t let the word coordination scare you, because this step is as easy as the first one that I mentioned. All the cameras that accept film rollers, on the top have the film advance lever, which is used in order to rotate the film inside the camera. Just pull the film advance lever and you will notice that the film roller is being rotated in a way and once you see that the sprocket holes (the toothed drums) line up with the holes that are found within the camera, the coordination is done now that you have wind the film forwards, load film now, just don’t forget to lock the film canister.
5. Close your Camera & Load Film
The last step regarding how to put film in a camera is closing the camera! Close the back but make sure that you hear a little click on it so that you know that the film is fully secured and won’t fall off. Push the rewind knob all the way down.
The only thing that you need to do right now is to load film and make sure that the number of the picture counter says zero; that way you avoid using the exposed film that we used at the beginning.
Now you are more than ready to start shooting with your camera! I can assure you that taking film photography is one of the most creative ways to take a picture. Have fun while using it!

Wedding Photographer
From nature to urban landscapes, my camera is my tool for expressing my creativity and telling stories through my lens.


