Before I start elaborating on selective focus, let’s find out what the focus in general means.
Self-explanatory as it says “focus”, is when the camera focuses on a point or subject, making it look more detailed and sharp.
You can focus either manually or automatically, an easy example would be with our phones. Have you noticed when we try to take a picture there is a square that we can drag around, that square shows us the area that will be focused the most.
What determines the focusing is the distance between your camera sensor, lens, and the subject you are trying to focus on.
What is Selective Focus:
Selective Focus and Focus are pretty much the same thing, just focus in general can be used for a wide variety of things, while the selective focus has one thing in mind and that’s
“To tell a strong story”
Let’s take an example, if you were to take a normal picture of a town with traffic on it, you will just see a picture of the traffic, but if the photographer were to “select focus” a delivery guy on its bike, the whole meaning of the picture changes.
In a way, the photographer wants us to see the delivery guy and focus on him while blurring the rest of the traffic.
Selective Focus helps us focus the subject in a detailed and sharp manner while isolating the outside background and making the viewers pay attention mostly to the point that we want them to.
How to Get the Best Out of Selective Focus
Before you start taking “selective focus” photos, make sure you pay attention to some factors that contribute highly to the outcome.
Selecting the Subject/Focal Point
First, you want to choose the subject that you want to be focused on, or let’s say the main character of the story.
You want it to have a meaning, and not just capture some random subject in focus and call it a day.
It’s all about creativity.
Selecting the Background
While our job is to blur or isolate the background, we should not ignore it and not pay attention at all.
Although it is blurred and hard to see, the background pretty much plays the same role as the focal point in selective focus photography.
You should also know that there are things that can’t be blurred out, a large thing in a different color might distract the main subject more than you think.
Let’s say you are on a field and you want to capture an insect, behind there’s a flower that has a striking color, even if you blur it, it will surely be distracting and waste the point of the selective focus.
Depth Of Field
This is the key factor that will determine how experienced you are and how good the photo looks.
It might take a while to master the depth of field, once you do, there’s nothing stopping you from being a great selective focus photographer.
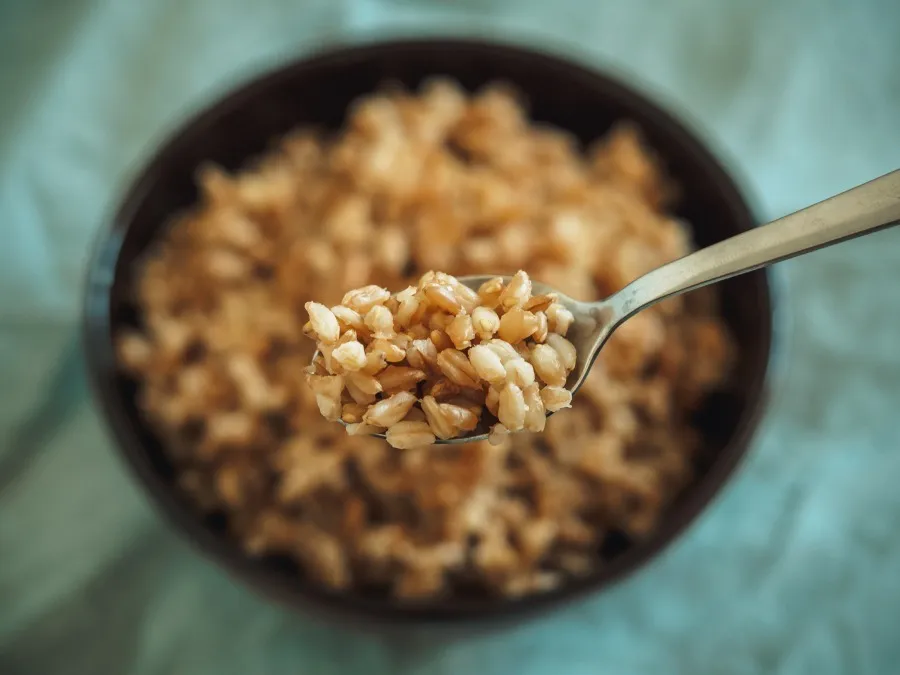
Although it is more about preferences, most of the time you want your depth of field to be shallower while the background more blurry; what decides all this is the Aperture or otherwise known as the F-Stop.
Make sure you know your lens and its aperture before starting to shoot. The larger the F-number on your lens is, the smaller the aperture is and vice versa.
A large aperture will decrease the shallow depths of a field, while a smaller one will increase it. You will have to play around with the aperture in general until you find the right one that will suit your content.
As for the blur itself, you are also the decider here.
You can make your image look as blurry as possible while having only “stains” of color in the background, or less blur while still focusing on the subject.
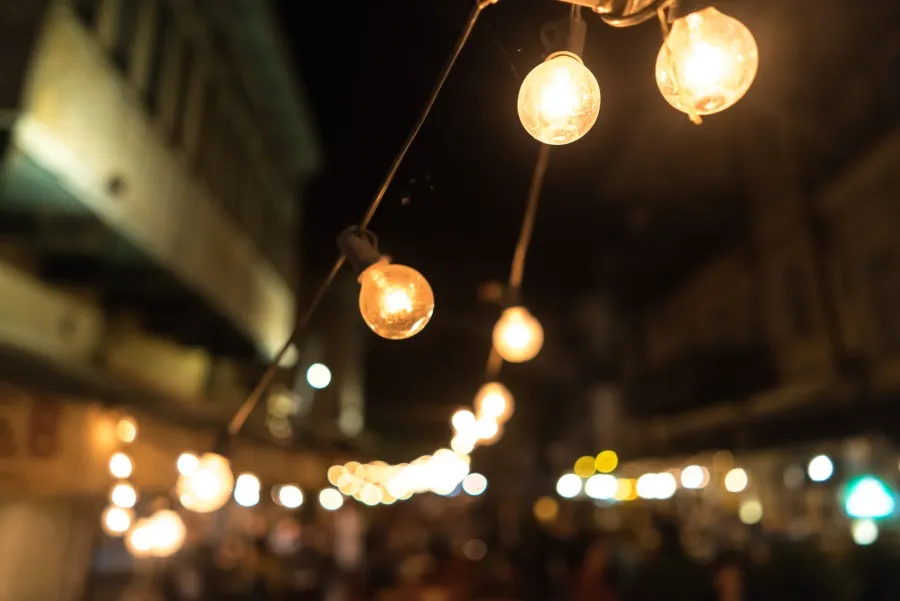
A lens that can blur decently is very important here, the blurry effect is also known as “Bokeh”.
However, bokeh is known as the out of focus it comes in circular shapes and is much softer and appealing than your traditional blur.
Using a Tripod
No matter how good of a photographer you are, you will never match the stability a tripod offers.
This is not the case only with selective focus, a tripod is an essential tool for any type of photography where stabilization and focusing play the main role.
A lot of photos can be ruined by shaky hands, but that will never happen if you use a tripod. So, do not hesitate to use a tripod if you struggle with this.
However, a tripod will be acceptable only when you have to do with static subjects, moving subjects like insects might be harder to catch since a tripod limits the movement.

Final Words:
Selective Focus photography is a great way to capture aesthetically pleasing pictures, while not only that, it gives more meaning and depth to the photos.
By using selective focus, we have the ability to direct the viewer’s eyes to the point we want them to see; at the same time, selective focus gives us the power to separate crowded pictures into a single thing by eliminating the rest from the frame.
It is a thing that benefits all photographers in general, no matter what their skill level is.
I would highly prompt you to learn about it more, and how to maneuver with the depth of field, it will sure be rewarding in the long run.
This is it, I really hope that this article added some insight to you.
Until next time,
Enjoy!

Photographer & Writer
I specialize in landscape, street and portrait photography and I have been featured in various galleries and publications. I believe that photography is a way to tell stories!