
Are you looking to capture stunning photos of your furniture? Look no further! In this article, we will provide you with essential tips and techniques to elevate your furniture photography game.
From choosing the right equipment and background, to mastering composition and lighting, we have got you covered.
Learn how to capture every intricate detail and texture, and avoid common mistakes along the way.
Get ready to showcase your furniture in its best light with our expert photography tips.
Essential Equipment for Furniture Photography

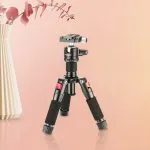
To capture high-quality images of furniture, you’ll need essential equipment like a sturdy tripod and a wide-angle lens.
A sturdy tripod is crucial because it provides stability and reduces camera shake, ensuring sharp and clear images. Look for a tripod that’s durable, adjustable, and easy to set up.
A wide-angle lens is essential for capturing the entire furniture piece within the frame, especially if you’re working in tight spaces. It allows you to showcase the furniture’s design, details, and dimensions accurately. Look for a lens with a focal length of 24mm or wider for optimal results.
Additionally, consider investing in a remote shutter release to minimize vibrations caused by pressing the camera’s shutter button manually. This simple tool can greatly enhance the sharpness of your images.
Choosing the Right Background for Furniture Photography
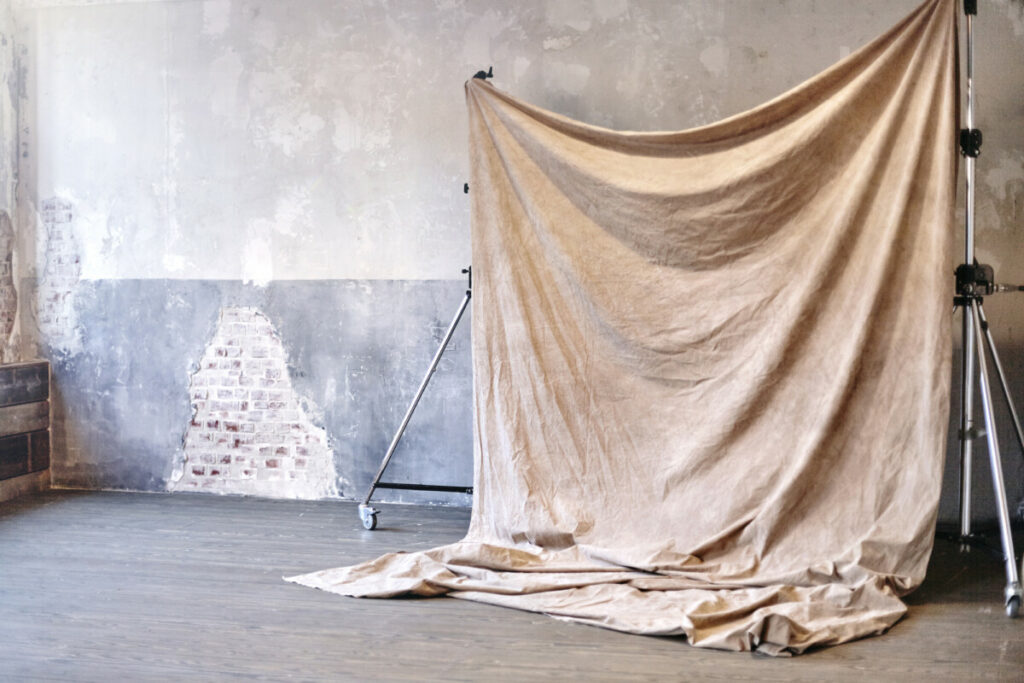
When it comes to furniture photography, choosing the right background is crucial for creating impactful and visually appealing images. The background can either enhance or distract from the furniture itself, so it’s important to consider color versus neutral options.
Additionally, the background choice can be customized using a green screen, allowing for endless possibilities and creative freedom in post-production.
Color Vs. Neutral Backgrounds
You should consider using a neutral background for your furniture photography to create a timeless and versatile look.
While color backgrounds can add a pop of excitement to your images, neutral backgrounds have their own advantages. A neutral background, such as white, gray, or beige, allows your furniture to take center stage without any distractions. It creates a clean and professional look that can easily blend in with any type of interior design.
Moreover, neutral backgrounds are less likely to clash with the colors of your furniture, ensuring that the focus remains on the product itself. They also provide a sense of consistency and can be easily edited in post-processing to match the overall aesthetic of your brand.
Impact of Background Choice
Choosing a neutral background for your furniture images allows for greater versatility and adaptability in different settings. By opting for a neutral background, such as a white or gray backdrop, you create a clean and timeless look that complements any style of furniture.
Neutral backgrounds are particularly effective when photographing furniture for online listings or catalogs, as they help potential buyers focus on the details and features of the piece without any distractions. Additionally, a neutral background allows you to easily edit or crop the image later on, should you need to make any adjustments or modifications.
Whether you’re photographing modern or traditional furniture, a neutral background ensures that your images will have a professional and cohesive appearance, enhancing the overall visual appeal and increasing the likelihood of attracting potential customers.
Customization With Green Screen
With a green screen, you can easily customize the background of your furniture images to fit any desired setting or theme. Green screens, also known as chroma key screens, are used in photography and videography to replace the original background with a digitally created one. This technique allows you to create a seamless integration between your furniture and the desired setting, whether it’s a cozy living room, a modern office, or even a tropical beach.
To achieve this, you’ll need a green screen backdrop, proper lighting, and post-processing software. The green screen backdrop should be evenly lit to ensure a clean extraction of the furniture. In post-processing, you can use specialized software like Adobe Photoshop or Canva to remove the green background and replace it with any image or color you desire.
This gives you the freedom to create compelling visuals for your furniture that can enhance the overall aesthetic and appeal to your target audience.
Preparing the Furniture for a Photoshoot
If you want to capture the best shots of your furniture, make sure it’s clean and free of any dust or debris. Before starting the photoshoot, give your furniture a thorough cleaning. Use a soft, lint-free cloth to wipe away any dust or smudges on the surface. Pay special attention to corners, crevices, and intricate details.
If there are any stains or marks, try using a gentle cleaner or upholstery shampoo to remove them. For wooden furniture, consider using a polish or wax to bring out its natural shine.
Additionally, make sure to remove any personal items or clutter from the furniture before taking the photos. By taking the time to properly clean and prepare your furniture, you’ll be able to capture stunning shots that highlight its beauty and appeal.
Mastering Composition and Angles in Furniture Photography
Now that you’ve prepared the furniture for your photoshoot, it’s time to focus on mastering composition and angles in furniture photography. These elements play a crucial role in creating visually appealing and engaging images that effectively showcase the furniture.
Composition refers to how you arrange the various elements within the frame of your photograph. To create a sense of balance and harmony, consider using the rule of thirds. Imagine your frame divided into a grid of nine equal sections and place your furniture along these lines or at their intersections. This will add visual interest and draw the viewer’s attention to the focal point.
Angles also play a significant role in furniture photography. Experiment with different perspectives to find the most flattering angle for each piece of furniture. Shooting from a low angle can make the furniture appear more grand and imposing, while shooting from a higher angle can create a sense of spaciousness.
Lighting Techniques for Stunning Furniture Photos
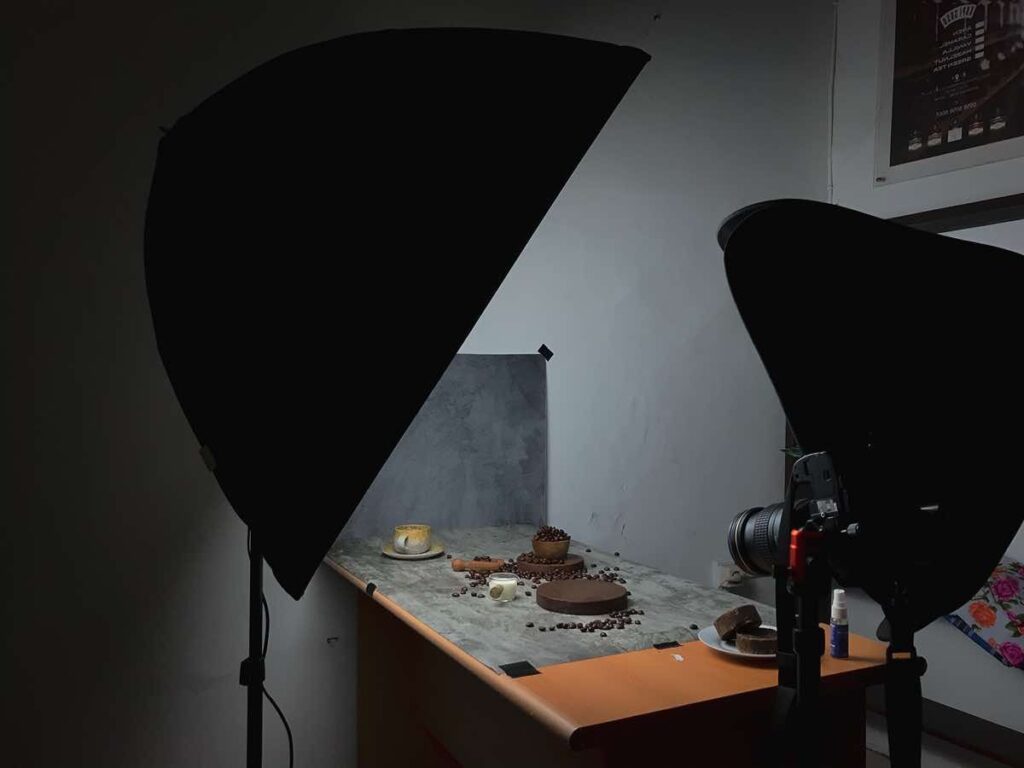
To capture stunning photos of furniture, it’s essential to master lighting techniques that enhance its features. Whether you choose natural or artificial lighting, the key is to create the perfect balance of light and shadow.
By using bounce and reflectors, you can control the direction and intensity of light, highlighting the textures and contours of the furniture.
Additionally, studio lighting equipment and indirect light can further enhance the overall composition and bring out the true beauty of the piece.
Natural Vs Artificial Lighting
You’ll want to consider whether natural or artificial lighting will best showcase your furniture in the photographs.
Natural lighting can create a warm and inviting atmosphere, while artificial lighting allows for more control and consistency. Natural light is best utilized when shooting near a window or in an outdoor setting. The soft, diffused light can highlight the texture and details of the furniture. However, it’s important to be mindful of the time of day and weather conditions, as they can greatly affect the quality of natural light.
On the other hand, artificial lighting, such as studio lights or lamps, can provide a consistent and controllable light source. This is especially useful when shooting in a controlled environment, where you can adjust the intensity and direction of the light to accentuate the furniture’s features.
Ultimately, the choice between natural and artificial lighting depends on the desired look and feel of the photographs, as well as the availability of resources and shooting conditions. Experimenting with both options can help you determine which lighting technique best showcases your furniture.
Bounce and Reflectors
Using bounce and reflectors can help you control and manipulate the light to achieve the desired effect in your images.
Bounce refers to redirecting light by bouncing it off a surface, such as a wall or ceiling, to create a softer and more diffused light. This technique can help eliminate harsh shadows and create a more even lighting across your furniture.
Reflectors, on the other hand, are tools that bounce light back onto your subject to fill in shadows and add more dimension to your images. They come in various shapes and sizes, including collapsible ones that are easy to carry around. Reflectors are especially useful when photographing furniture with intricate details, as they can enhance the texture and make the image more visually appealing.
Remember to experiment with different angles and positions for bounce and reflectors to find the perfect lighting setup for your furniture photography.
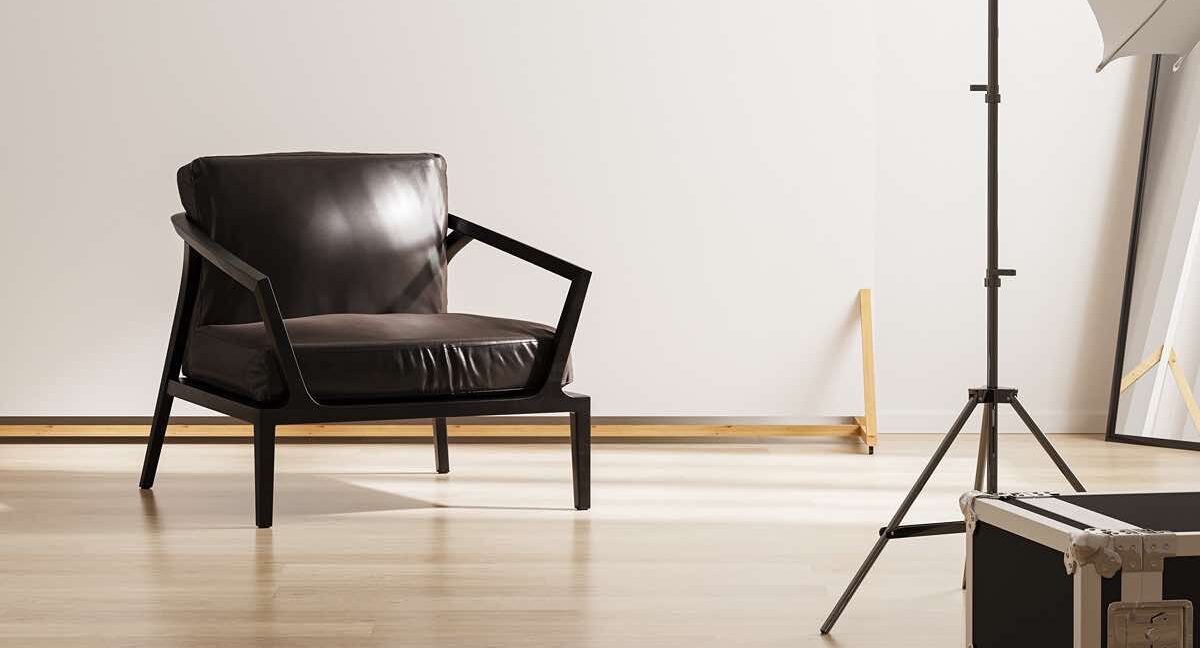
Studio Lighting Equipment
When shooting in a studio, it’s important to have the right lighting equipment to create the desired effect in your images.
One key piece of equipment is a set of studio lights. These lights provide a controlled and consistent source of light, allowing you to manipulate the lighting conditions to highlight the features of the furniture you’re photographing.
Softbox lights are great for diffusing light and creating soft shadows, while umbrella lights can provide a broader and more even spread of light.
Another useful tool is a reflector, which can bounce light back onto the subject, reducing shadows and adding depth to your images.
Additionally, using a light meter can help you accurately measure the light levels and ensure proper exposure.
Indirect Light Benefits
To achieve more natural and flattering lighting in your studio shots, position your subject in indirect light sources like windows or skylights.
Indirect light has numerous benefits that can greatly enhance the overall look of your furniture photography. Unlike direct light, which can create harsh shadows and highlights, indirect light provides a softer and more diffused illumination. This helps to minimize any unwanted glare or reflections on your furniture, resulting in a more balanced and professional-looking image.
Additionally, indirect light can bring out the true colors and textures of your furniture, as it eliminates any harsh color casts or distortions. By utilizing indirect light sources in your studio, you can create stunning photographs that showcase the beauty and craftsmanship of your furniture in the most natural and flattering way possible.
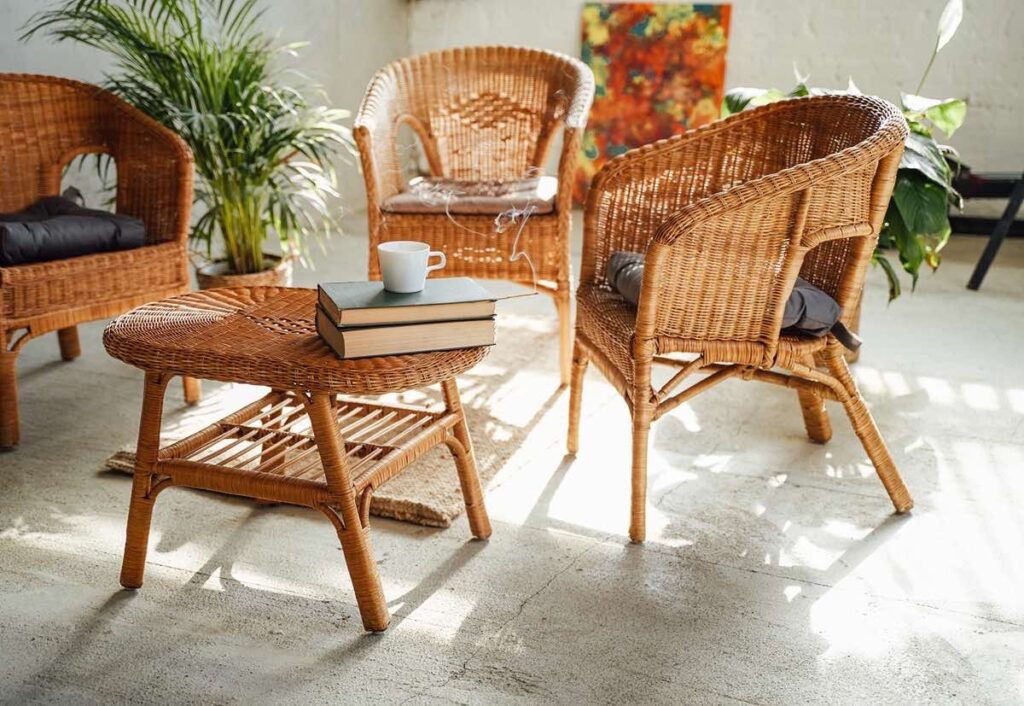
Styling Tips for Showcasing Furniture’s Best Features
You can highlight the best features of furniture by styling it in a way that emphasizes its unique design elements. When photographing furniture, it’s important to consider the composition and arrangement of the pieces to make them visually appealing.
Start by choosing a suitable backdrop that complements the furniture’s color and style. Use props sparingly to avoid distraction, but strategically place them to enhance the overall aesthetic. Pay attention to lighting, as it can greatly enhance or diminish the appearance of the furniture.
Experiment with different angles and perspectives to capture the furniture’s best angles. Additionally, consider the surrounding space and how it can contribute to the overall visual impact.
Editing and Post-Processing Tips for Furniture Photography
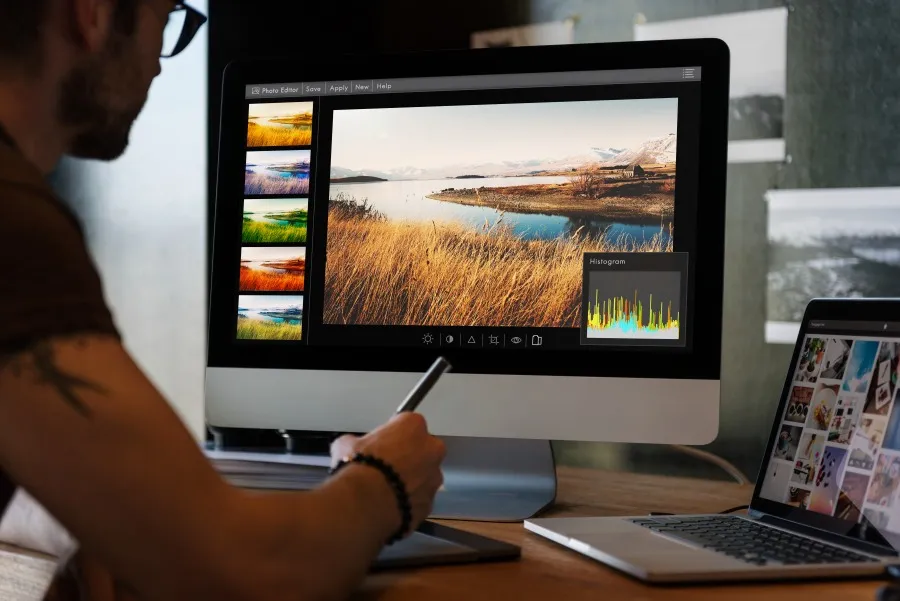
Now that you’ve captured stunning images of your furniture, it’s time to bring them to life through editing and post-processing.
With the right software, you can enhance the product details, correct colors, and remove any distractions that may take away from the beauty of your furniture.
These editing and post-processing tips will ensure that your furniture photography stands out and leaves a lasting impression on your audience.
Editing Software Recommendations
If you’re looking for editing software recommendations, Lightroom and Photoshop are popular choices in the photography community. These two programs offer powerful tools and features that can enhance your furniture photography and make your images stand out.
Lightroom is known for its user-friendly interface and its ability to manage and organize large collections of photos. It offers a wide range of editing tools, including adjustments for exposure, color, and sharpness. With Lightroom, you can also apply presets and create your own customized editing styles.
On the other hand, Photoshop is a more advanced software that allows for precise and detailed editing. It offers a wide range of tools and features, such as layers, masks, and advanced retouching capabilities. Photoshop is perfect for fine-tuning your furniture photos and achieving a polished and professional look.
Both Lightroom and Photoshop offer free trial versions, so you can try them out and see which one suits your editing needs best.
Enhancing Product Details
To make your product details stand out, consider using Lightroom or Photoshop to enhance the quality of your images. These editing software options offer a range of tools and features that can help you bring out the best in your furniture photography.
With Lightroom, you can make basic adjustments like adjusting exposure, contrast, and color balance. You can also apply presets or create your own custom filters to give your images a unique look.
Photoshop, on the other hand, provides more advanced editing capabilities, allowing you to remove imperfections, retouch furniture surfaces, and even add special effects if desired. Both programs offer non-destructive editing, meaning you can always go back to the original image if needed.
Color Correction Techniques
You can easily adjust the color balance of your images using Lightroom or Photoshop to make them more visually pleasing. When it comes to furniture photography, accurate color representation is crucial in showcasing the true essence of the piece.
Whether you want to brighten up the image, correct color casts, or create a specific mood, these editing tools offer various color correction techniques to achieve your desired result.
In Lightroom, start by opening your image and selecting the Develop module. Under the Basic panel, you’ll find sliders for adjusting temperature, tint, exposure, and more. Play around with these sliders to correct any color imbalances and achieve a more natural look. Additionally, you can use the HSL/Color panel to fine-tune specific colors in your image, enhancing or reducing their saturation or luminance.
If you prefer using Photoshop, go to the Image menu and select Adjustments, then choose the desired adjustment layer, such as Levels or Curves. These adjustment layers allow you to modify the color balance by adjusting the individual color channels. For example, you can tweak the red and blue channels to correct any color casts or make the image warmer or cooler.
Remember to work on a copy of your original image, so you can always go back to the original if needed. Experiment with different adjustments and find the color balance that makes your furniture images truly stand out.
Removing Distractions in Post-Processing
When removing distractions in your post-processing, use the healing brush tool in Photoshop to seamlessly erase any unwanted elements from your image.
The healing brush tool is a powerful tool that allows you to remove distractions such as dust, scratches, or even people in the background.
To use the healing brush tool, simply select it from the toolbar and then choose a brush size that matches the area you want to remove.
Next, click and drag the brush over the unwanted element, and Photoshop will automatically blend the surrounding pixels to fill in the area.
This tool is especially useful when photographing furniture, as it allows you to remove any imperfections or distractions that may take away from the overall aesthetics of your image.
Tips for Shooting Outdoor Furniture

When shooting outdoor furniture, it’s important to consider the lighting conditions. Utilize natural light to showcase the furniture’s details and colors.
Additionally, incorporate the surrounding environment to create a harmonious and visually appealing composition.
Outdoor Lighting Techniques
To capture the best outdoor lighting for your furniture photography, make sure to position your subject in the golden hour.
The golden hour refers to the period shortly after sunrise or before sunset when the sun is low in the sky, casting a warm, soft light. This type of lighting creates a beautiful, flattering glow on your furniture, enhancing its features and textures.
During the golden hour, the light isn’t too harsh or too dim, allowing you to capture the perfect balance of light and shadow. To make the most of this lighting, position your furniture so that it’s facing the sun, or at an angle that allows the light to fall gently on it.
Experiment with different angles and compositions to find the most pleasing and visually appealing results.
Incorporating Natural Surroundings
As you photograph your outdoor space, take advantage of the natural surroundings to add depth and interest to your images. Incorporating the natural elements around your furniture can transform a simple photograph into a captivating visual story.
Start by positioning your furniture in a way that complements the surrounding landscape or architecture. Use trees, plants, or flowers as a backdrop to create a sense of harmony and balance.
Utilize the natural light to highlight the textures and colors of your furniture, capturing the play of light and shadows. Consider the weather conditions and time of day to enhance the mood and atmosphere of your photos.
Weather Considerations
Don’t forget to check the weather forecast before you head out to capture your outdoor space. The weather plays a vital role in furniture photography as it can greatly impact the overall look and feel of your images.
If it’s a sunny day, you’ll have the advantage of natural lighting, which can beautifully highlight the details and textures of your furniture. However, be cautious of harsh shadows and reflections.
On cloudy days, the diffused light can create a soft and even glow, perfect for capturing a cozy atmosphere.
Rainy days may provide interesting reflections and textures, but be prepared to protect your equipment.
And if it’s windy, make sure to secure your furniture so that it doesn’t topple over during the shoot.
Always be adaptable and make the most out of the weather conditions to create stunning furniture photographs.
Capturing Details and Textures in Furniture Photography
You can enhance the quality of your furniture photography by capturing the intricate details and textures. These elements play a crucial role in making your images visually appealing and engaging to the viewer.
To capture the details, start by using a macro lens, which allows you to focus on small areas with precision. Pay attention to the fine lines, patterns, and textures on the furniture, as they add depth and interest to your shots.
Experiment with different angles and lighting techniques to bring out the textures effectively. Soft, diffused lighting can help minimize harsh shadows and highlight the details in a flattering way.
Additionally, consider using props such as plants or accessories to add context and create a visually pleasing composition.
With these tips, you’ll be able to create stunning furniture photographs that showcase the intricate details and textures of your subjects.
Common Mistakes to Avoid in Furniture Photography
Now that you’ve learned how to capture the intricate details and textures in furniture photography, it’s important to be aware of some common mistakes that can hinder the quality of your shots. By avoiding these pitfalls, you can ensure that your furniture photographs are visually appealing and professional.
One common mistake to avoid is using improper lighting. Poor lighting can result in shadows, glare, or uneven exposure, which can obscure the details of the furniture and make it appear less appealing. Make sure to use diffused lighting to minimize harsh shadows and highlight the features of the furniture.
Another mistake to steer clear of is neglecting the composition of your photographs. A cluttered background or poorly arranged furniture can distract from the focal point and make the image look messy. Take the time to carefully arrange the furniture and choose a clean, uncluttered background to create a visually pleasing composition.
Lastly, be cautious of over-editing your photographs. While post-processing can enhance the overall look of the image, excessive editing can make the furniture appear unrealistic and unappealing. Keep your edits subtle and natural to maintain the true essence of the furniture.
Conclusion
In conclusion, mastering the art of furniture photography requires the right equipment, attention to detail, and a solid understanding of composition, lighting, and post-processing techniques.
By choosing the right background, preparing the furniture properly, and capturing the intricate details and textures, you can create stunning and visually appealing images.
Remember to avoid common mistakes and experiment with different angles and lighting setups to achieve the desired results.
With practice and patience, you can elevate your furniture photography skills and capture captivating images that showcase the beauty of your furniture pieces.

Photo & Videographer
A photographer with a passion for capturing the beauty of nature and the human form. My work has been featured in galleries and publications around the world, and I strive to create images that evoke emotion and tell a story.