Are you tired of your camera bag being dirty and grimy?
In this guide, we’ll show you how to clean it effectively and restore its pristine condition.
With just a few simple steps, you’ll be able to remove stains, dirt, and odors, ensuring your camera bag is ready for your next adventure.
Gather your cleaning supplies and let’s dive into the process of giving your camera bag the TLC it deserves.
7 Steps To Clean Your Camera Bag
Step 1: Gather the Necessary Equipment
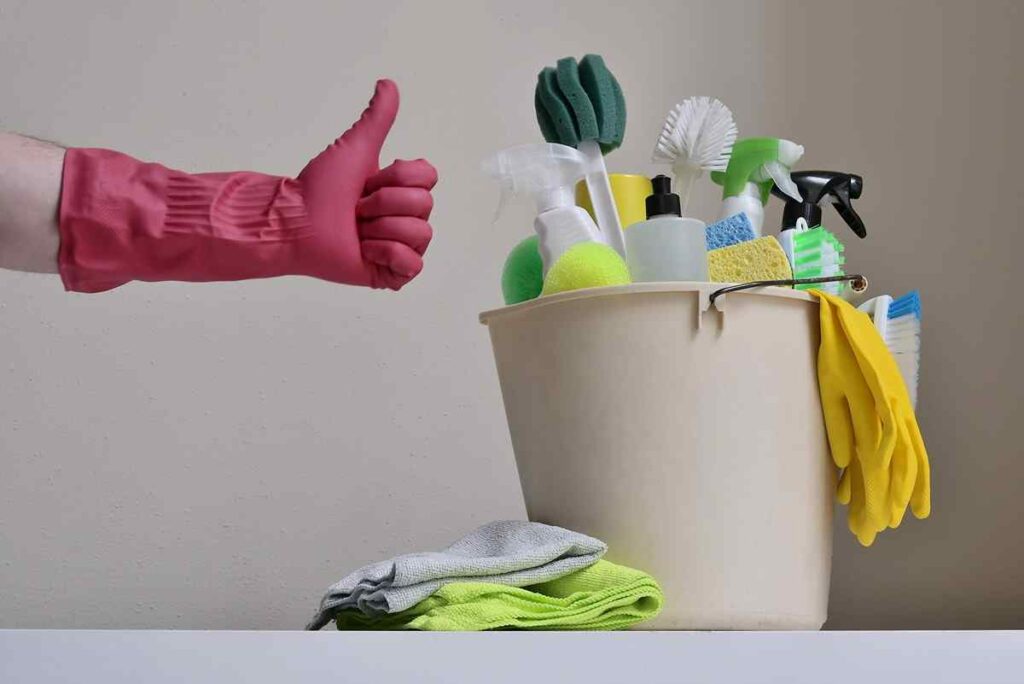
To clean your camera bag, you’ll need to gather the necessary equipment.
First and foremost, you’ll require a soft-bristled brush or a microfiber cloth to remove any loose dirt or dust from the bag’s exterior. These gentle tools will ensure that no scratches or damages occur during the cleaning process.
Additionally, a mild detergent or camera bag cleaner is essential for tackling stubborn stains or spills. Make sure to choose a cleaning solution specifically designed for camera bags to avoid any potential damage to the fabric.
Lastly, a small vacuum cleaner or a handheld air blower will come in handy to remove any debris that may have accumulated inside the bag’s compartments.
Step 2: Start by Cleaning the Interior
Now that you’ve emptied the contents, it’s time to focus on the inside of your camera bag.
This is where your gear spends most of its time, so it’s important to keep it clean and organized.
Start by using a soft brush or vacuum cleaner to remove any loose dirt or dust from the interior. Be gentle to avoid damaging the fabric or padding.
If there are any stains or spills, use a mild detergent or stain remover and a damp cloth to gently scrub the affected area. Rinse the cloth thoroughly and wipe away any residue.
Finally, allow the bag to air dry completely before putting your gear back inside.
Taking the time to clean the interior of your camera bag will help protect your equipment and keep it in top condition for years to come.
Step 3: Scrub the Exterior With Gentle Detergent
If there are any stains or spills on the exterior, gently scrub the affected area with a damp cloth and mild detergent. Using a damp cloth and mild detergent, gently scrub the affected areas to remove any stains or spills. Be sure to use a soft cloth to avoid scratching the surface of your bag.
When it comes to cleaning the outside of your camera bag, it’s important to be thorough yet gentle. The exterior of your bag is often exposed to dirt, dust, and other elements, so it’s crucial to keep it clean to maintain its durability and appearance. Pay attention to any specific areas that may require extra attention, such as zippers or hardware.
Step 4: Pay Attention to Stains and Stubborn Dirt
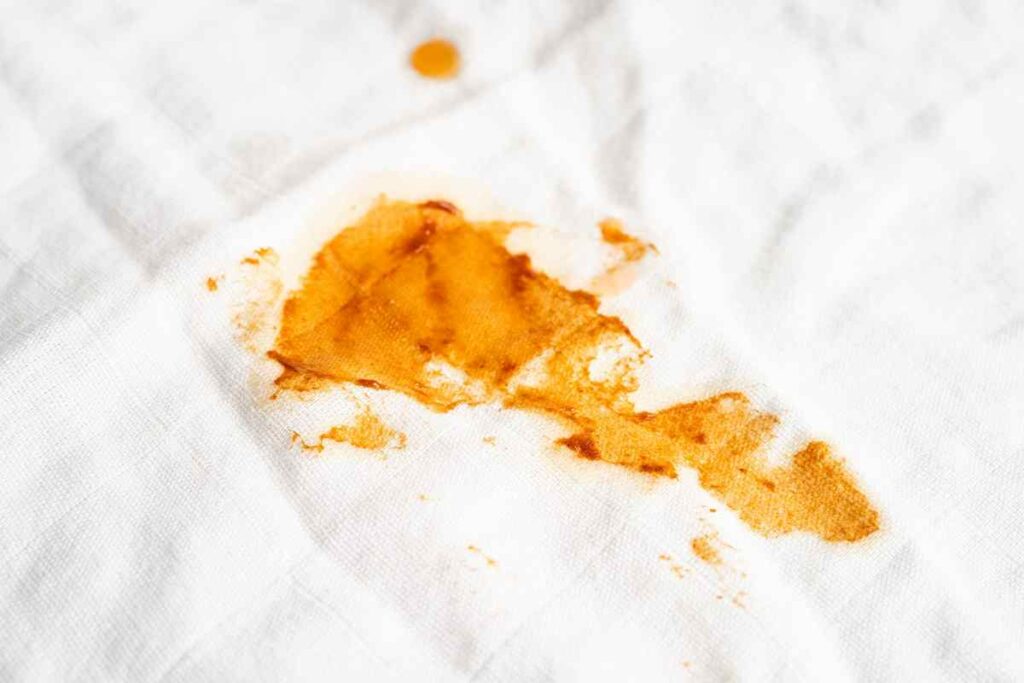
When gently scrubbing the exterior of your camera bag, be sure to pay extra attention to any stubborn stains or dirt that may be present. These unsightly blemishes not only diminish the overall aesthetic appeal of your bag, but they can also compromise its durability and longevity.
To effectively tackle these stubborn stains, start by preparing a mild cleaning solution using a gentle detergent and warm water. Dip a soft cloth or sponge into the solution and gently scrub the affected areas in circular motions. Take care not to apply excessive pressure, as this may damage the fabric.
For particularly stubborn stains, you may need to repeat the process or spot clean using a soft-bristled brush. Once the stains have been successfully removed, rinse the exterior thoroughly and allow it to air dry.
Your camera bag will now look as good as new, ready to accompany you on your photographic adventures with pride.
Step 5: Ensure Thorough Drying Before Using Again
Before using it again, make sure your camera bag is completely dry to prevent any potential damage or mold growth. Proper drying is crucial to maintain the longevity and functionality of your bag.
After cleaning, give it enough time to air dry naturally. Avoid using heat sources like hairdryers or direct sunlight, as they can cause the bag’s fabric to shrink or fade. Hang the bag upside down or place it on a clean, dry surface with adequate air circulation.
Ensure that all compartments, pockets, and zippers are open to allow for thorough drying. Check for any residual moisture by touching the bag’s interior and exterior surfaces. Once it feels dry, you can confidently store your camera equipment knowing that it’s protected in a clean and dry environment.
Step 6: Spot Cleaning for Specific Stains
To remove specific stains, lightly dab the affected areas with a mild detergent solution and a clean cloth. Spot cleaning is crucial to maintain the pristine condition of your beloved camera bag. Whether it’s a stubborn coffee stain or a smudge of dirt, addressing these blemishes promptly ensures that your bag remains in top-notch shape.
Begin by identifying the stain and its source. Is it oil-based or water-based? Gently blot the area with a cloth soaked in a mild detergent solution, being careful not to saturate the fabric. Rinse the cloth and repeat until the stain disappears. Remember, patience is key. Avoid scrubbing vigorously, as it may damage the bag’s material.
Once the stain is gone, allow the bag to air dry completely before using it again. Your camera bag deserves the utmost care, and spot cleaning ensures it continues to be a reliable companion on your photographic adventures.
Step 7: Consider Using a Dryer for Complete Drying
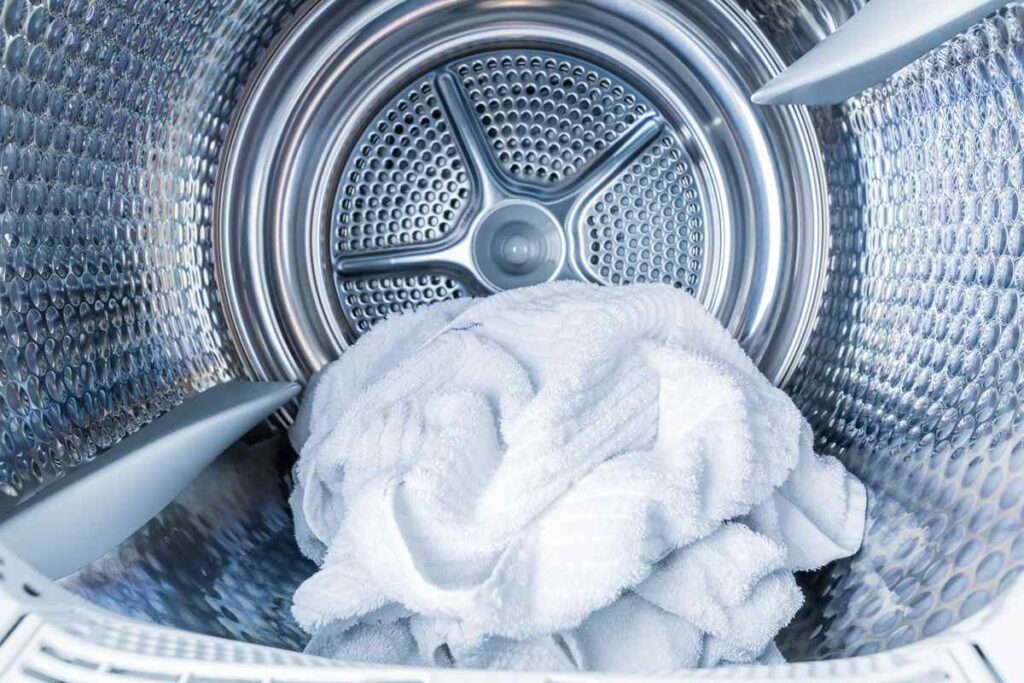
Make sure you thoroughly dry your beloved bag before using it again to prevent any potential damage. After cleaning your camera bag, it’s crucial to ensure that it’s completely dry before putting your equipment back inside. Dampness can lead to mold, mildew, and corrosion, which can ruin your precious gear.
To achieve a thorough drying, consider using a dryer. Set it on a low or delicate heat setting and place your bag inside. Make sure to remove any detachable parts or accessories before putting it in the dryer. Leave it in for a short duration, checking periodically to avoid overheating.
Once dry, inspect the bag for any remaining moisture or damp spots. Use a clean, dry cloth to pat them dry. Taking the time to properly dry your camera bag will extend its lifespan and keep your equipment safe.
Conclusion
In conclusion, properly cleaning your camera bag is essential for maintaining its longevity and protecting your valuable equipment.
By following the steps outlined in this article, you can ensure that your camera bag is free from dirt, stains, and odors. Remember to be gentle when cleaning the interior and exterior, and take extra care with stubborn stains.
Once the bag is clean, make sure it’s thoroughly dried before using it again.
By keeping your camera bag clean, you can continue to capture amazing moments with confidence and peace of mind.

Photographer & Writer
I specialize in landscape, street and portrait photography and I have been featured in various galleries and publications. I believe that photography is a way to tell stories!